Pool Loans: Effortless & Smart Financing Options
May 22, 2026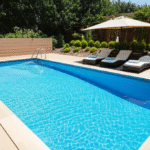
Pools for Small Yards: Stunning & Affordable Designs
May 25, 2026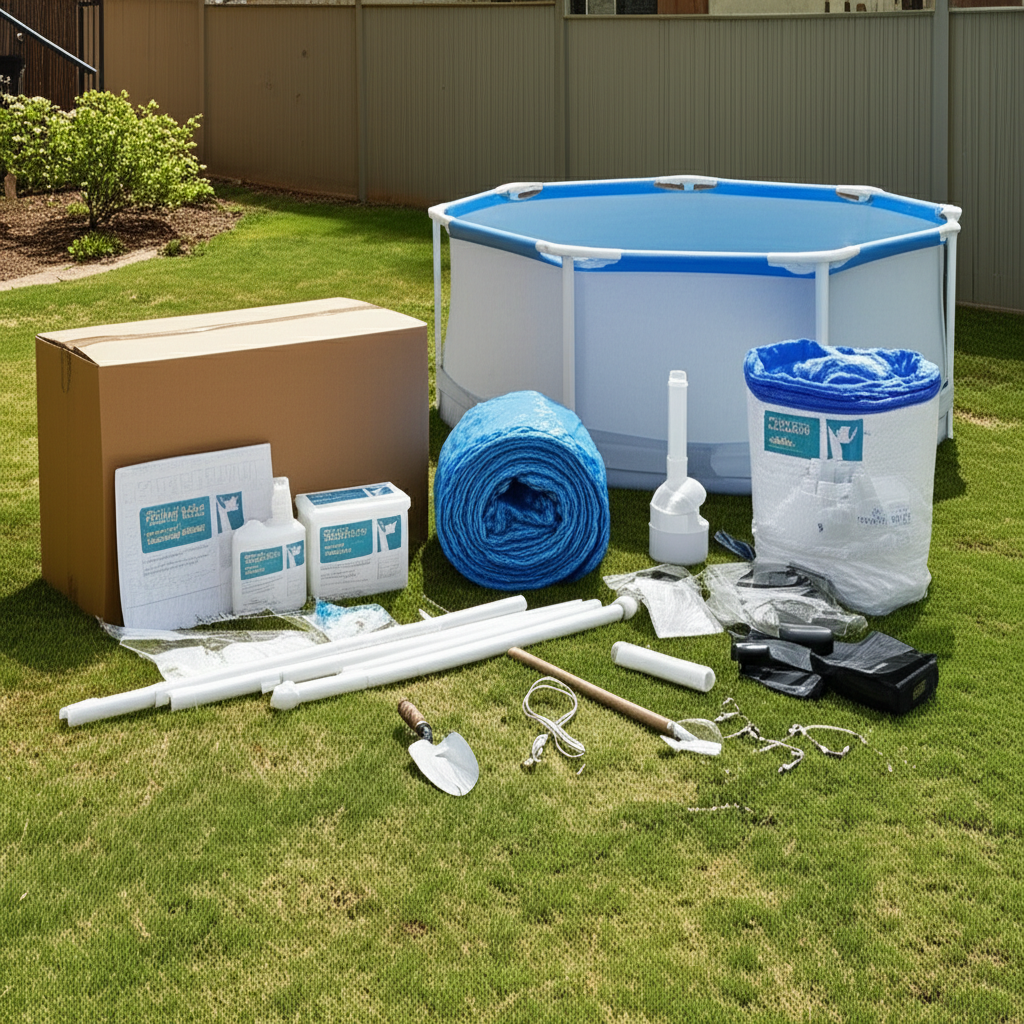
- Unlock Your Backyard Oasis: The Ultimate Guide to Building Your Own Pool
- Why Choose DIY Pool Kits for Your Backyard Dream?
- Building Your Own Pool: The Foundation of Fun
- The Step-by-Step Process with DIY Pool Kits
- Beyond Construction: Maintaining Your DIY Masterpiece
- Conclusion
Unlock Your Backyard Oasis: The Ultimate Guide to Building Your Own Pool
DIY Pool Kits have revolutionized the way homeowners approach realizing their backyard dreams of a personal swimming haven. No longer is pool ownership exclusively for those with deep pockets and endless patience for custom construction. With the advent of comprehensive kits, the dream of a shimmering, refreshing pool in your own backyard is more accessible than ever, offering a unique blend of satisfaction, cost-effectiveness, and control over the entire project. This guide delves into everything you need to know about these kits, making the journey from concept to splash a truly rewarding experience.
Why Choose DIY Pool Kits for Your Backyard Dream?
The decision to embark on building your own pool with a DIY kit comes with a myriad of compelling benefits. Foremost among them is significant cost savings. Professional pool installations can be incredibly expensive, often marking up labor and materials considerably. By taking on the construction yourself (or with the help of friends and family), you drastically cut down on labor costs, allowing you to invest more in quality materials or desirable features like lighting and decking.
Beyond the financial advantages, there’s immense satisfaction in creating something with your own hands. Completing a project of this magnitude fosters a profound sense of accomplishment. Furthermore, DIY kits offer a degree of control over the design and timeline that custom builds often lack. You can work at your own pace, ensuring every detail meets your vision, and often choose specific components that align with your aesthetic preferences and budget.
Building Your Own Pool: The Foundation of Fun
Embarking on a pool project requires careful consideration from the outset. Understanding the types of kits available and the initial planning steps are crucial for a smooth construction process.
Types of DIY Pool Kits
Modern DIY pool kits typically come in a few popular variations, each with its own characteristics:
Steel Wall/Vinyl Liner Kits: These are perhaps the most common and robust. Steel panels form the structure of the pool walls, which are then bolted together and braced. A custom-fit vinyl liner is then installed to hold the water. They are durable, offer a wide range of shapes and sizes, and are relatively straightforward for a competent DIYer.
Polymer Wall/Vinyl Liner Kits: Similar in concept to steel wall kits, but they use high-impact polymer plastic panels for the walls. These are typically lighter, corrosion-proof, and can be easier to maneuver. They offer excellent durability and are a popular choice in various climates.
Panel/Block Kits (with Liner or Fiberglass Finish): Some kits provide pre-engineered wall panels or guide you through laying concrete blocks, which are then finished with a vinyl liner or, less commonly, a fiberglass coating. These can be more labor-intensive but offer tremendous structural integrity and design flexibility.
Planning Your Backyard Oasis
Before you even think about ordering a kit, meticulous planning is paramount:
1. Site Selection: Choose a location that receives ample sunlight, has good drainage, and is away from septic fields, large trees (roots can cause damage), or overhead power lines. Consider accessibility for excavation equipment and material delivery.
2. Permits and Regulations: This is a non-negotiable first step. Contact your local municipal planning or building department to understand permit requirements, setbacks, safety regulations (e.g., fencing), and utility easements. Failure to obtain proper permits can lead to costly fines or forced demolition.
3. Budgeting Beyond the Kit: Remember that the cost of your kit is only one part of the equation. You’ll need to factor in excavation services, decking materials, fencing, landscaping, electrical work, plumbing supplies, and essential pool equipment like pumps, filters, heaters, and automatic pool cleaners.
The Step-by-Step Process with DIY Pool Kits
While specific instructions will vary by manufacturer, most DIY pool kits follow a general construction sequence:
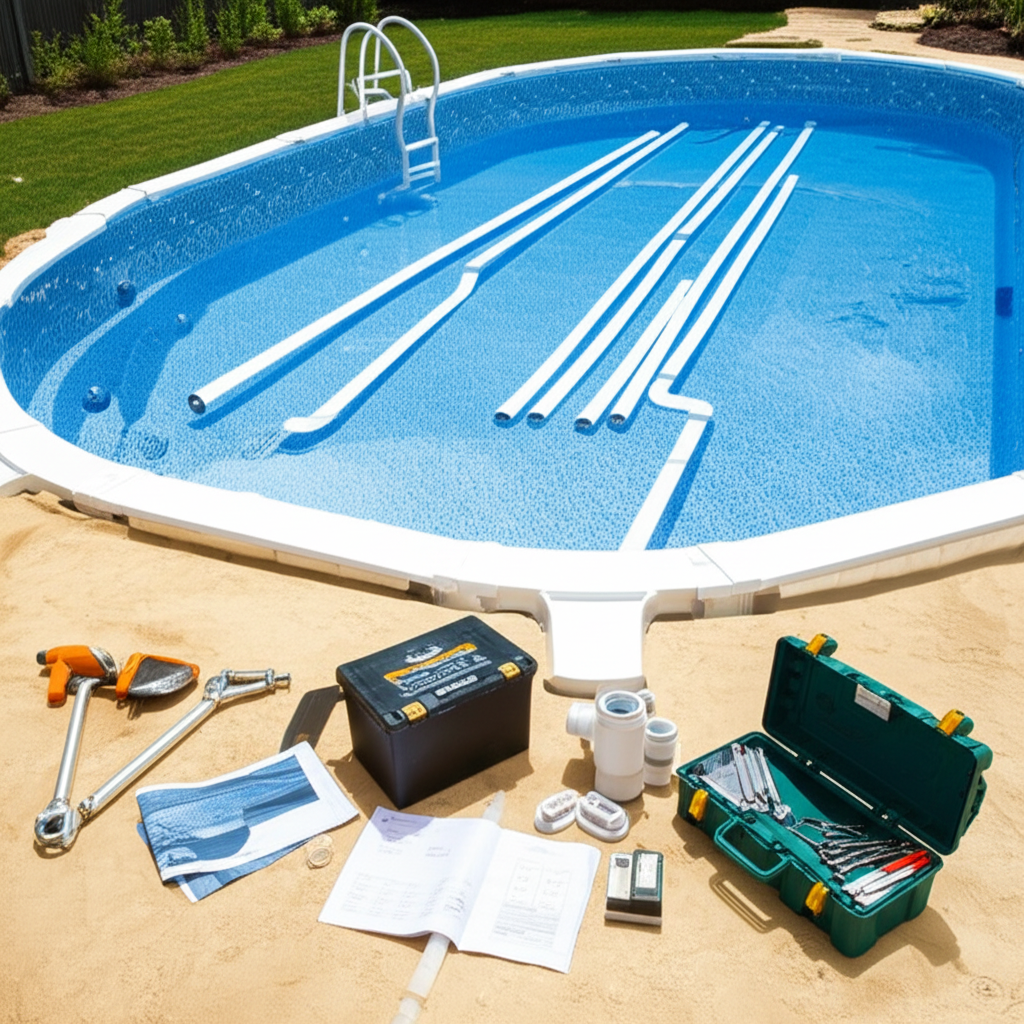
Step 1: Excavation and Base Preparation: Accurate excavation is critical. The pool shape and depth must match the kit’s specifications precisely. Once excavated, the base is prepared, usually by spreading and compacting a layer of “MORTAR” mix or crushed rock to create a smooth, level surface for the liner.
Step 2: Wall Assembly: The pool wall panels are bolted or interlocked together to form the perimeter of the pool. Braces are installed to support the walls, ensuring they remain plumb and level before backfilling. This step requires precision to ensure the final pool shape is correct.
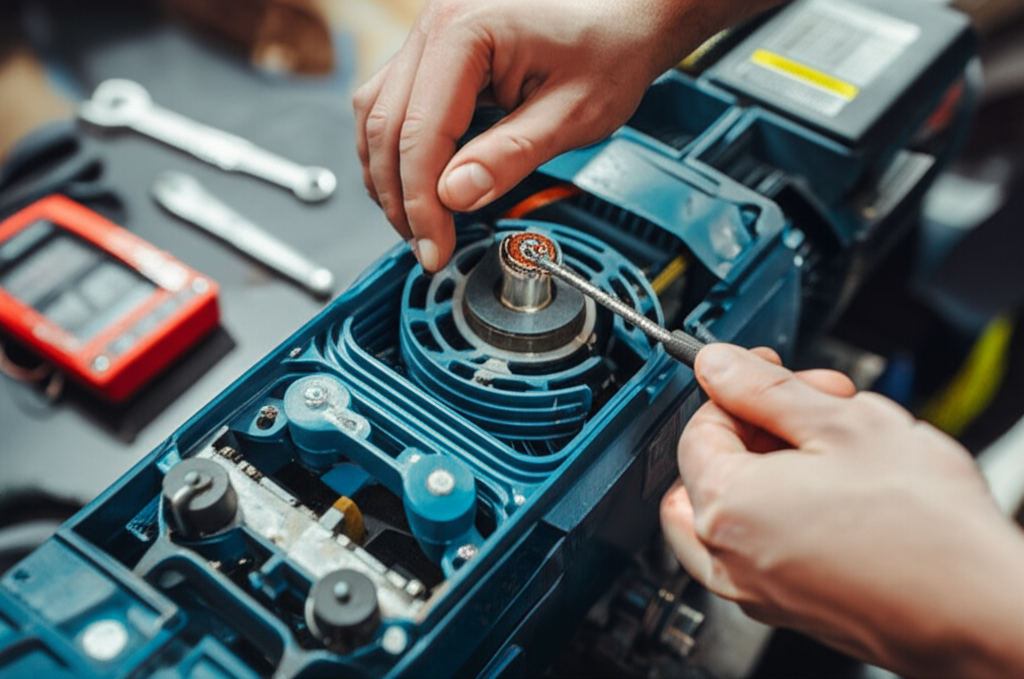
Step 3: Plumbing and Electrical Rough-Ins: This involves installing skimmers, return lines, and main drains according to the kit’s layout. PVC piping is run from these components to the designated area for your pump and filter. Electrical conduits are also laid for the pump, lighting, and any other powered accessories. For electrical work, it is highly recommended to consult or hire a licensed electrician to ensure safety and code compliance.
Step 4: Backfilling and Decking Prep: Once the walls, plumbing, and electrical rough-ins are inspected and secured, the area around the pool walls is carefully backfilled with appropriate material, compacting it in layers to prevent settling. Simultaneously, preparations are made for your decking, whether that involves pouring concrete, laying pavers, or building a wooden deck.
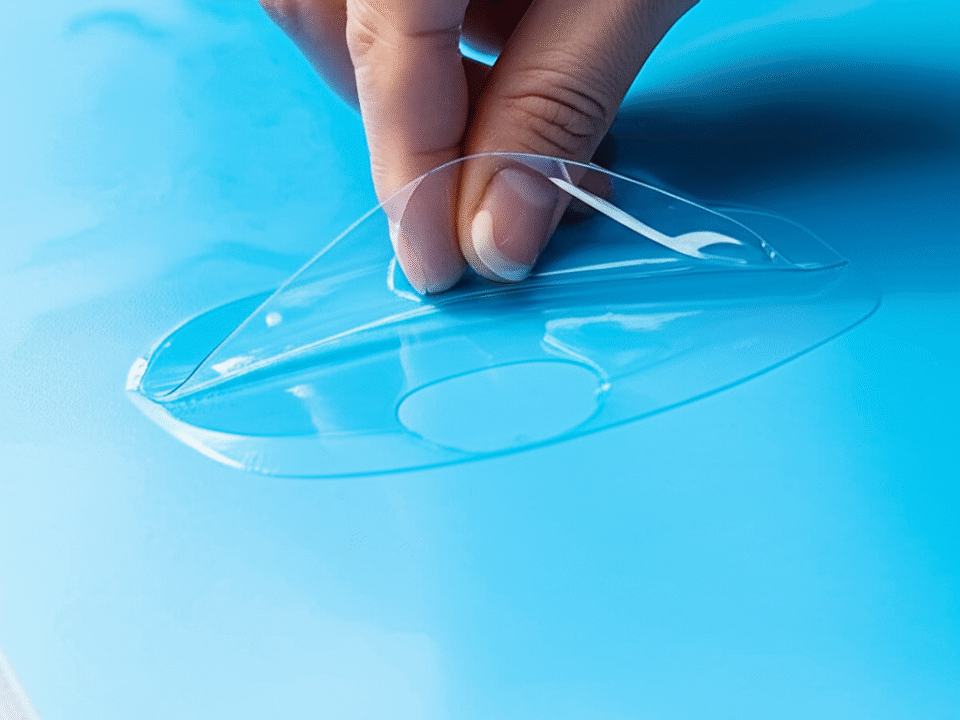
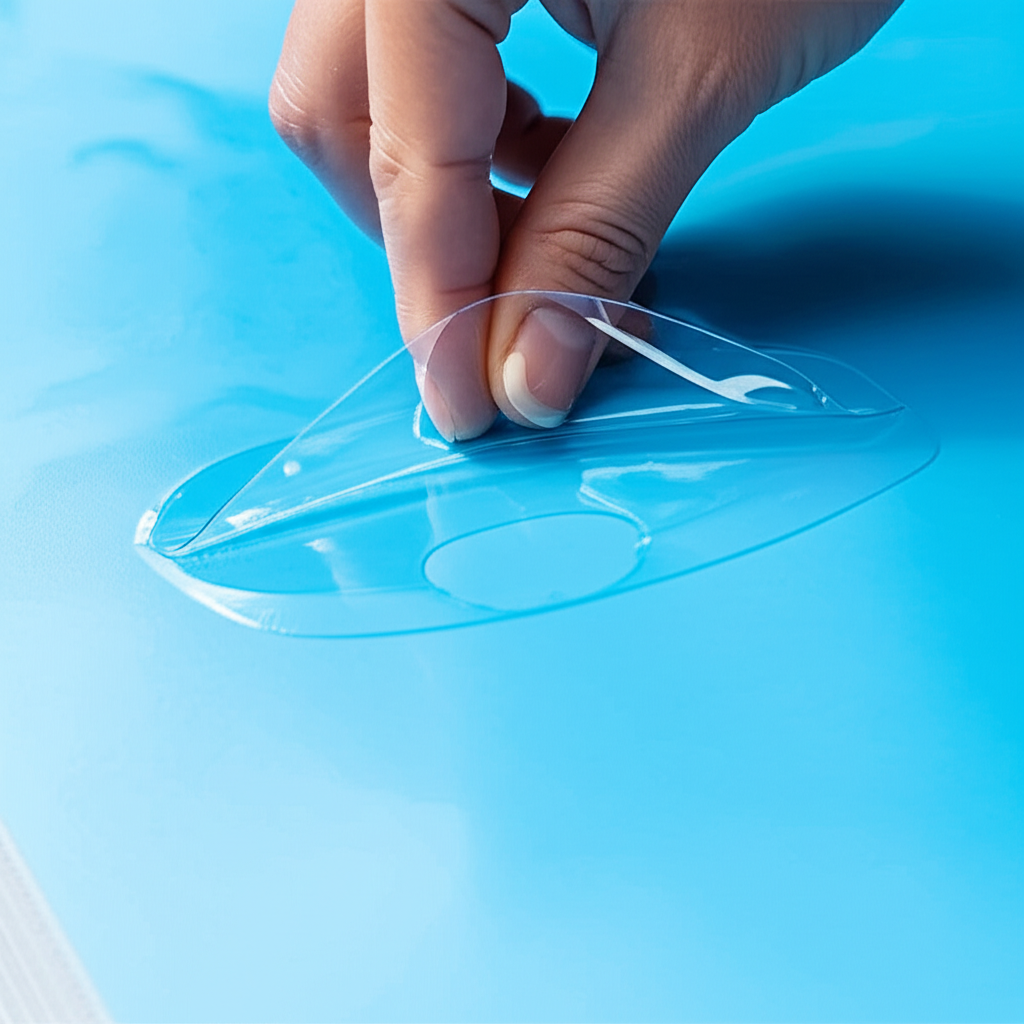
Step 5: Liner Installation: For vinyl liner pools, this is a delicate but satisfying step. The custom-fit liner is carefully positioned in the pool, and a powerful vacuum is often used to suck the air from behind the liner, pulling it snugly into place against the walls and floor, creating a smooth, wrinkle-free surface.
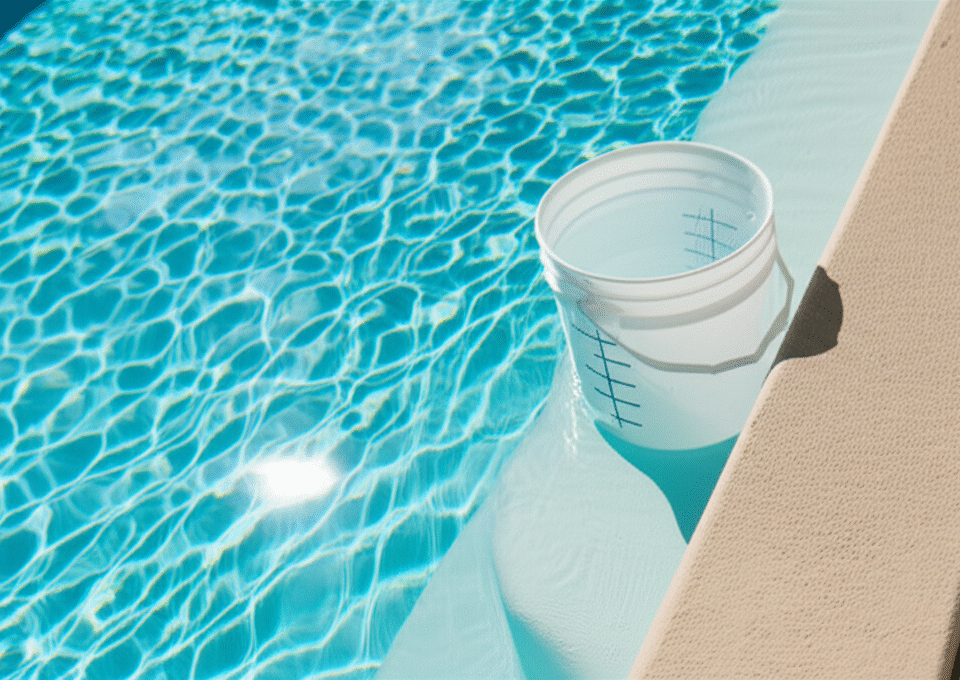
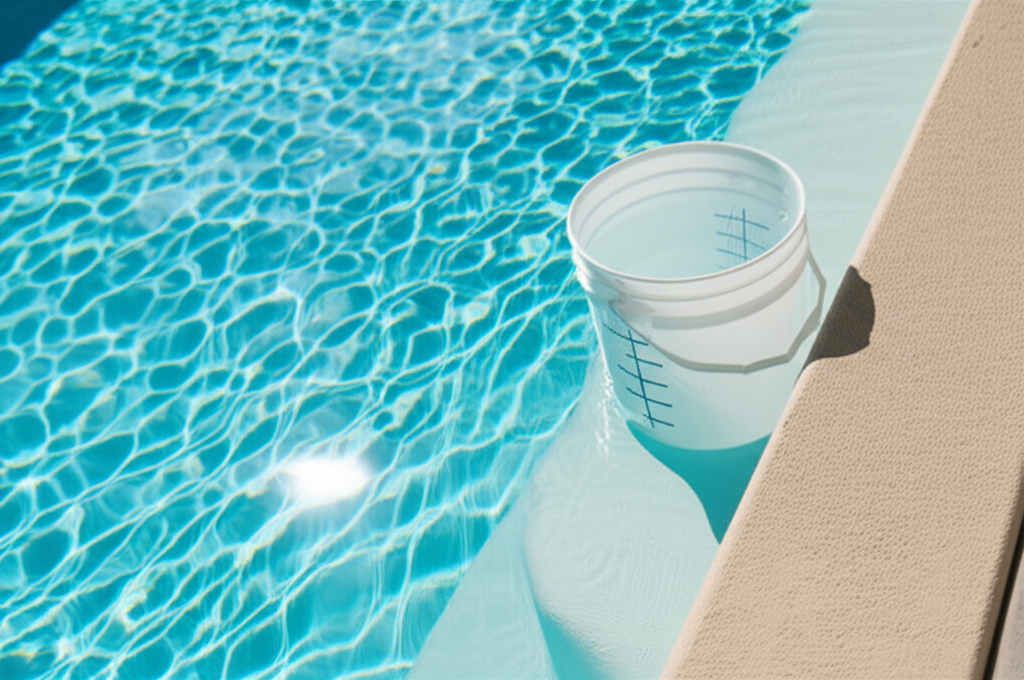
* Step 6: Filling and Initial Setup: With the liner in place, your pool is ready to be filled with water. As it fills, the filtration system can be assembled and started up. The final crucial step is to test and balance the initial water chemistry.
Beyond Construction: Maintaining Your DIY Masterpiece
Once your magnificent DIY pool is complete and filled, the journey of pool ownership truly begins. Regular maintenance is key to preserving its beauty, ensuring water clarity, and prolonging the life of your equipment. This involves consistent chemical testing and balancing, cleaning the pool walls and floor, skimming debris, and regularly checking and emptying pump and skimmer baskets.
For those who love the idea of a sparkling clean pool but find regular pool cleaning services to be a time-consuming chore, professional assistance is readily available. Companies like California Blue Pool offer comprehensive services, covering everything from routine upkeep to seasonal openings and closings, allowing you to simply relax and enjoy your personal oasis without the hassle of maintenance. You can learn more about their easy and reliable pool cleaning options by visiting californiabluepool.com. Investing in professional care ensures your DIY masterpiece remains an inviting haven for years to come.
Conclusion
Building your own pool with a DIY kit is an ambitious yet incredibly rewarding endeavor. It empowers you to take control of your backyard transformation, offering significant savings and the deep satisfaction of creating a personal resort tailored to your exact desires. While it requires careful planning, dedication, and attention to detail, the result – a beautiful, functional pool built by your own hands – is an unparalleled achievement that will provide endless hours of enjoyment for you, your family, and friends. Dive in and make your backyard dream a reality!