Pool Liner Wrinkles: Banish Them Effortlessly
August 6, 2026
Cloudy Pool: Instantly Solve Post-Shock Problems
August 9, 2026
- What Exactly is Pool Plaster Delamination?
- Understanding the Root Causes of Pool Plaster Delamination
- Identifying Pool Plaster Delamination: The Tell-Tale Signs
- DIY vs. Professional Help: When to Call the Experts
- Ultimate Guide to Easy Repairs for Pool Plaster Delamination
- Step 1: Prepare the Area
- Step 2: Apply the Repair Material
- Step 3: Curing and Refilling
- Preventing Future Pool Plaster Delamination
Pool Plaster Delamination: an unwelcome sight for any pool owner, manifesting as unsightly blisters, bubbles, or hollow areas beneath the pool’s surface. This condition, where the top layers of the plaster finish separate from the underlying concrete or previous layers, can not only detract from your pool’s aesthetic appeal but also lead to more significant structural issues if left unaddressed. Fortunately, understanding the causes and knowing how to approach minor repairs can save you significant hassle and cost. This ultimate guide will walk you through identifying, understanding, and easily repairing pool plaster delamination.
What Exactly is Pool Plaster Delamination?
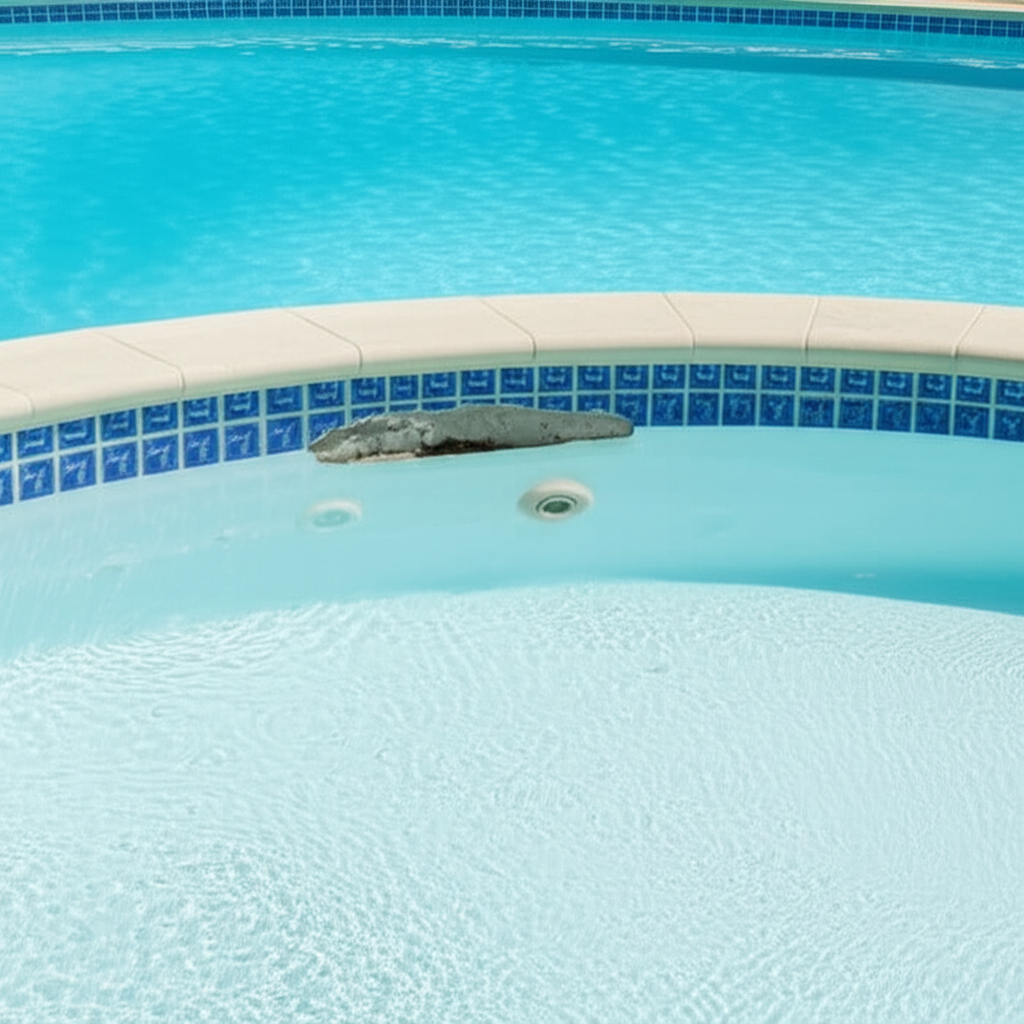
Imagine peeling wallpaper: that’s essentially what happens with pool plaster delamination. The plaster, which forms the smooth, waterproof surface of your pool, is applied in layers. Delamination occurs when one or more of these layers fail to bond properly, or when an existing bond weakens and breaks. This separation often creates pockets of air or water, leading to the characteristic blisters or hollow spots you might feel or see. The underlying causes are varied, but almost always relate to issues during the plaster application, curing, or long-term water chemistry maintenance.
Understanding the Root Causes of Pool Plaster Delamination
To effectively repair and prevent delamination, it’s crucial to understand why it happens in the first place. Several factors can contribute to this frustrating pool problem:
Poor Surface Preparation: The most common culprit. If the pool shell or previous plaster layer isn’t properly cleaned, roughened, or primed before new plaster is applied, the new material won’t adhere correctly. Dust, oils, or loose debris can act as a barrier to proper bonding.
Improper Plaster Mix: An inconsistent or incorrect plaster mix (e.g., too much water, weak cement content, or poor aggregate blend) can result in a weaker product that is prone to delamination.
Rapid Drying and Curing Issues: Plaster needs to cure slowly and evenly. If exposed to direct sunlight, high temperatures, or strong winds too soon after application, the outer layer can dry much faster than the inner layers, leading to stress, shrinkage, and separation.
Chemical Imbalances: Long-term exposure to aggressive or improperly balanced pool water can slowly erode the plaster’s surface and weaken its internal structure, making it more susceptible to delamination over time. Low calcium hardness or pH levels, for example, can “etch” plaster.
Structural Movement: While less common for plaster delamination specifically, significant cracks in the underlying gunite or concrete shell due to ground movement can stress the plaster, potentially leading to localized delamination.
Insufficient Bond Coat: A bond coat is a critical intermediary layer that promotes adhesion between the existing surface and new plaster. If applied incorrectly or omitted, delamination is almost inevitable.
Identifying Pool Plaster Delamination: The Tell-Tale Signs
Catching delamination early can make repairs much easier. Here’s how to spot it:
Visual Inspection: Look for visible blisters, bubbles, or raised areas on the plaster surface. These can range from a few inches to several feet across. You might also notice flaking or peeling around the edges of these areas.
The “Tap Test”: A classic method. Take a plastic mallet or the handle of a screwdriver and gently tap the suspected area. A solid, uniform area of plaster will produce a dull thud, whereas a delaminated spot will emit a hollow sound, indicating a void underneath.
Rough Texture: Delaminated areas often feel rougher or uneven compared to the surrounding smooth plaster.
Cracking: In severe cases, the delaminated blister can crack open, exposing the void beneath and potentially leading to water seepage.
DIY vs. Professional Help: When to Call the Experts
While many minor delamination issues can be tackled by a competent DIYer, knowing when to call in a professional is key.
Small, Isolated Patches: If you have just a few small, contained blisters, particularly in less visible areas, a DIY repair is often feasible.
Widespread Damage: If delamination covers a significant portion of your pool, or if the hollow spots are very deep and numerous, it’s usually best to consult a professional pool repair company. They have the expertise, equipment, and materials to ensure a lasting repair or even recommend a complete replastering if necessary. For complex issues or if you’re unsure about the extent of the damage, highly rated local pool cleaning services with repair expertise, like those found at https://californiabluepool.com, can provide an assessment and professional solutions.
Ultimate Guide to Easy Repairs for Pool Plaster Delamination
For those manageable, isolated instances of Pool Plaster Delamination, here’s a step-by-step guide to tackling the repair:
Step 1: Prepare the Area
1. Drain the Pool: You’ll need to drain your pool sufficiently so the delaminated area is completely dry. Depending on the location of the delamination, this might mean a partial or full drain.
2. Safety First: Wear appropriate safety gear, including gloves, eye protection, and a dust mask.
3. Remove Loose Plaster: Using a hammer and chisel, carefully chip away all loose and delaminated plaster. You want to remove everything that isn’t firmly bonded to the underlying surface. Be thorough; any remaining loose material will compromise your repair. Expand the chipped area slightly beyond the visible delamination until you hit solid, well-bonded plaster.
4. Clean the Surface: Once all loose material is removed, thoroughly clean the exposed surface. Use a stiff brush and water to remove any dust, debris, algae, or contaminants. For better adhesion, you can also consider a diluted acid wash (read instructions carefully and wear full PPE) specifically on the exposed concrete, then rinse thoroughly. Let the area dry completely.
5. Roughen the Surface: The goal is to create a profile for the new plaster to adhere to. If the underlying concrete is too smooth, gently score it with your chisel or a wire brush to create some texture.
Step 2: Apply the Repair Material
1. Choose Your Repair Material:
White Portland Cement-Based Plaster: For larger repairs, a traditional plaster mix is best. You can buy pre-mixed kits or mix white Portland cement with plaster sand and a polymer bonding agent according to manufacturer instructions.
Epoxy Patch Kits: Good for smaller, localized areas, especially if you need a quick-drying solution.
Hydraulic Cement: An option for very small, deep voids, as it sets quickly underwater (though you’ll be working in a dry environment here).
Always match the color and texture as closely as possible to your existing plaster for a seamless finish.
2. Mix the Plaster: Follow the product manufacturer’s instructions precisely. Consistency is key – you want a thick, uniform paste that’s workable but not runny.
3. Apply the Bonding Agent (If Necessary): Some repair plasters require a prior application of a liquid bonding agent to the cleaned surface. Apply according to product directions and allow it to become tacky.
4. Apply the Repair Plaster: Using a trowel, firmly press the mixed plaster into the prepared area. Build up the plaster in thin layers if needed, ensuring good compaction to eliminate air pockets.
5. Smooth and Feather: Work quickly to smooth the new plaster surface with your trowel, blending it seamlessly with the existing plaster. Feather the edges so there’s no noticeable ridge. Aim for a finish that matches the texture of your existing pool plaster as closely as possible.
Step 3: Curing and Refilling
1. Keep it Moist (Crucial for Curing): Plaster needs to cure slowly. For the first 24-48 hours (or as per product instructions), mist the repaired area with water periodically or cover it with damp towels to prevent it from drying out too quickly.
2. Allow Full Cure Time: While surface dry might happen quickly, full curing can take several days. Follow the manufacturer’s recommended cure time before refilling the pool.
3. Gradual Refill: Once cured, refill your pool slowly. This gradual process helps to equalize the pressure and temperature changes, further promoting a strong bond.
4. Monitor Water Chemistry: Once the pool is full, it’s critical to meticulously balance your water chemistry, paying close attention to pH, alkalinity, and calcium hardness. Maintaining proper balance is essential for the longevity of your new repair and overall pool health. Regular pool cleaning services can help ensure your water chemistry is consistently perfect, preventing future issues. Visit https://californiabluepool.com for professional pool maintenance.
Preventing Future Pool Plaster Delamination
Prevention is always better than repair. Here’s how to minimize the chances of delamination recurring:
Professional Installation: When replastering your entire pool, always hire experienced and reputable professionals. Proper surface preparation and application techniques are paramount.
Maintain Excellent Water Chemistry: This is perhaps the most critical ongoing daily task. Regularly test and adjust your pH, alkalinity, and calcium hardness levels. Avoid letting your water become aggressively acidic or corrosive.
Regular Maintenance: Adhere to a consistent pool cleaning services schedule, which includes brushing, vacuuming, and chemical management. This routine helps prevent chemical hotspots and maintains plaster integrity. For expert maintenance, consider https://californiabluepool.com.
Avoid Aggressive Brushing: While brushing is good, don’t use overly abrasive brushes or concentrate harsh chemicals directly onto the plaster surface.
Addressing pool plaster delamination promptly can prevent minor issues from becoming major headaches. With this guide, you’re now equipped to identify, understand, and even perform easy repairs, ensuring your pool remains a beautiful and inviting oasis for years to come. Remember, when in doubt or faced with extensive damage, consulting with a professional ensures a quality and long-lasting solution.